How to Get Rid of Carpenter Ants in Your Home
Have you spotted carpenter ants in your home and you’re looking to take action? Acting quickly is essential: an untreated colony can spread for years and cause costly structural damage. This guide gives you the concrete steps to confirm the infestation, locate the nest, and choose the right treatment.
How to Confirm You Have a Carpenter Ant Infestation
Before taking action, make sure you are actually dealing with carpenter ants and not another species. Misidentification leads to an ineffective treatment — and wasted time while the colony continues to spread. To identify the species with certainty, consult our visual identification guide for carpenter ants.
The 5 Signs That Call for Action
- Fine, powdery sawdust (frass) near walls, under floors, or at the base of doors. It resembles very fine wood shavings, sometimes mixed with small insect debris.
- Large ants (6 to 13 mm) seen regularly indoors, especially at night. A few isolated ants may come from outside — dozens every evening indicate an established colony inside the structure.
- Scratching or rustling sounds inside walls or ceilings in the evening — the sound of workers excavating their galleries through the wood.
- Wood that sounds hollow when tapped with your knuckles. Excavated galleries create cavities inside beams and joists.
- Winged ants indoors in spring — this is the most serious sign. It confirms the colony is mature and has been established inside the structure for at least 3 to 5 years.
Satellite Colony or Parent Colony: Why It Changes Everything for Treatment
The ants you see indoors are almost always part of a satellite colony — an extension of the main colony established outdoors, in a stump or dead tree. Eliminating the ants visible inside without reaching the outdoor parent colony leads to re-infestation within weeks. To understand the colony structure in detail, consult our guide on carpenter ant identification and colony roles.
Find the Nest Before Treating
Treating without locating the nest is like putting out a fire without finding the source. Products applied randomly eliminate visible workers, but the colony survives and rebuilds quickly.
Priority Areas to Inspect
Carpenter ants consistently nest in areas where wood is moist or deteriorating. Inspect these areas first:
- The basement and crawl space — especially rim joists, beams in contact with concrete, and areas under bathrooms or the kitchen
- Window and exterior door frames — water often seeps in at these points
- Around plumbing pipes passing through walls or floors
- The attic — particularly if ventilation is poor or the roof has had previous leaks
- Wooden decks and porches attached to the home
To pinpoint the nest more precisely, follow ant trails in the evening with a flashlight: workers always use the same paths between their nest and food sources. These trails often lead directly to the nest entrance.
Why Treating Without Locating the Nest Almost Always Fails
A well-established colony can have between 3,000 and 10,000 individuals spread across several satellite nests. Spraying an insecticide on the surface eliminates passing workers, but the queen, protected at the heart of the parent colony, keeps laying eggs. Within 4 to 6 weeks, numbers are back up.
This is why precisely locating the nest or nests — ideally by an experienced technician — is the essential first step for lasting treatment.
Solutions for Getting Rid of Carpenter Ants
DIY Methods — What Actually Works
Over-the-counter solutions can reduce visible activity, but they are rarely sufficient to eliminate an established colony. According to Health Canada, insecticide use must always follow label instructions and safety precautions. Here is what produces the best results on your own:
- Gel or granule baits — the most effective DIY method. Workers carry the bait back to the nest, progressively affecting the entire colony. Place baits on the foraging trails you have identified, never next to a repellent insecticide that would drive ants away before they touch the bait.
- Diatomaceous earth — sprinkle into cracks, around entry points, and along foraging trails. It damages the ants’ exoskeleton on contact and causes dehydration. Most effective as a preventive measure and as a complement to treatment.
- Sealing entry points — fill cracks in foundations, around pipes, and along window and door frames with silicone caulking. This does not treat the existing colony, but limits new intrusions.
These methods are appropriate for an early-stage infestation or as complementary measures. If you have been seeing signs of infestation for several weeks, professional intervention is strongly recommended.
Professional Treatment — When It Is Necessary and What to Expect
Professional treatment is necessary in the following situations:
- Sawdust present in multiple areas of the home
- Winged ants seen indoors in spring
- Persistent scratching sounds inside walls
- DIY treatment already attempted without lasting results
- Wood that sounds hollow in the structure
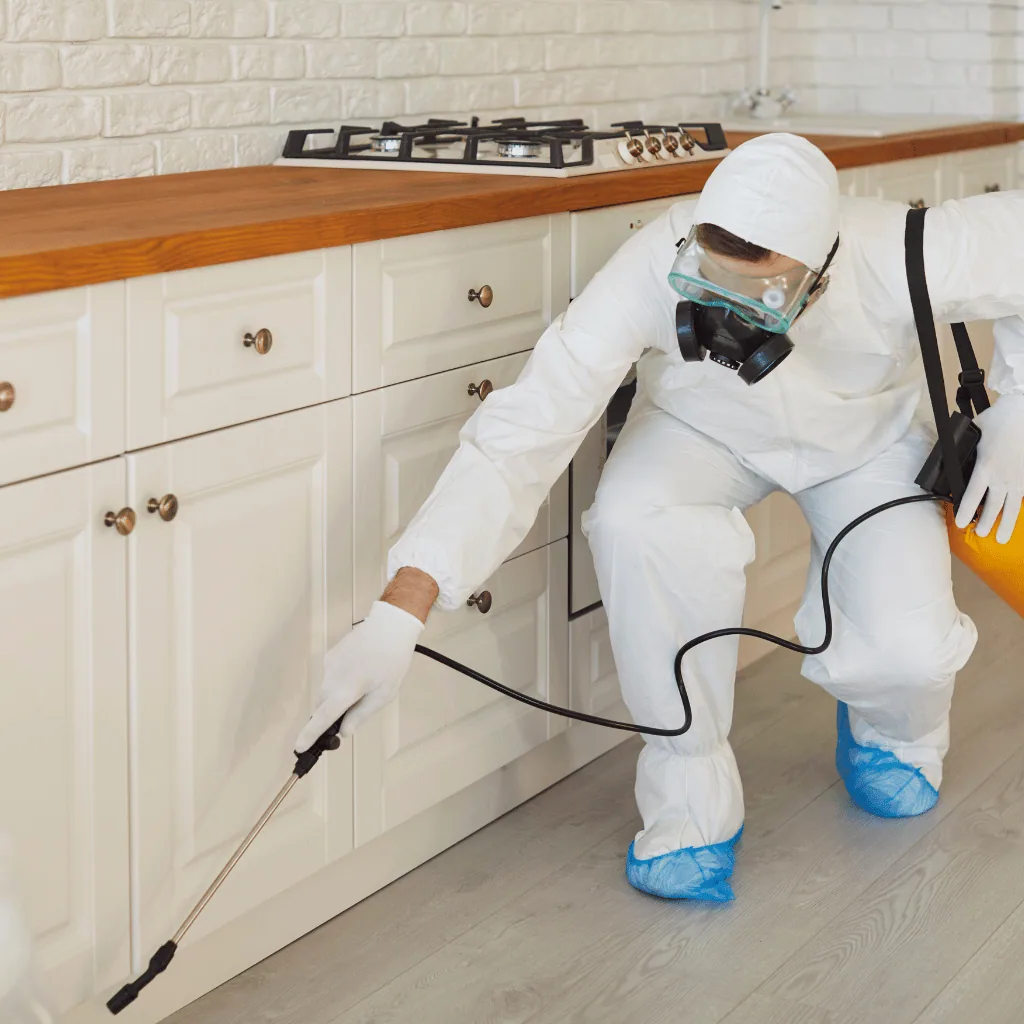
The technician starts with a thorough inspection to locate all active nests — satellite and parent. A targeted treatment is then applied, typically combining a direct insecticide injection into the galleries and a perimeter barrier around the home. This type of treatment reaches the colony where over-the-counter products cannot.
A follow-up visit is scheduled a few weeks after the initial treatment to confirm the colony has been fully eliminated. To learn more about our approach, visit our carpenter ant exterminator page.
Preventing Re-infestation After Treatment
Once the infestation has been treated, a few corrective measures help prevent carpenter ants from returning by addressing the conditions that allowed the colony to establish in the first place.
Eliminate Residual Moisture Sources
Moisture is the number one factor that attracts carpenter ants. Without accessible moist wood, they will not settle. Priority corrections after treatment:
- Repair any roof, gutter, or plumbing leaks identified during the inspection
- Ensure proper ventilation in the basement and crawl space
- Replace rotted or deteriorated wood discovered during treatment
- Remove stumps, dead wood, and construction materials stored against the home
Block Identified Entry Points
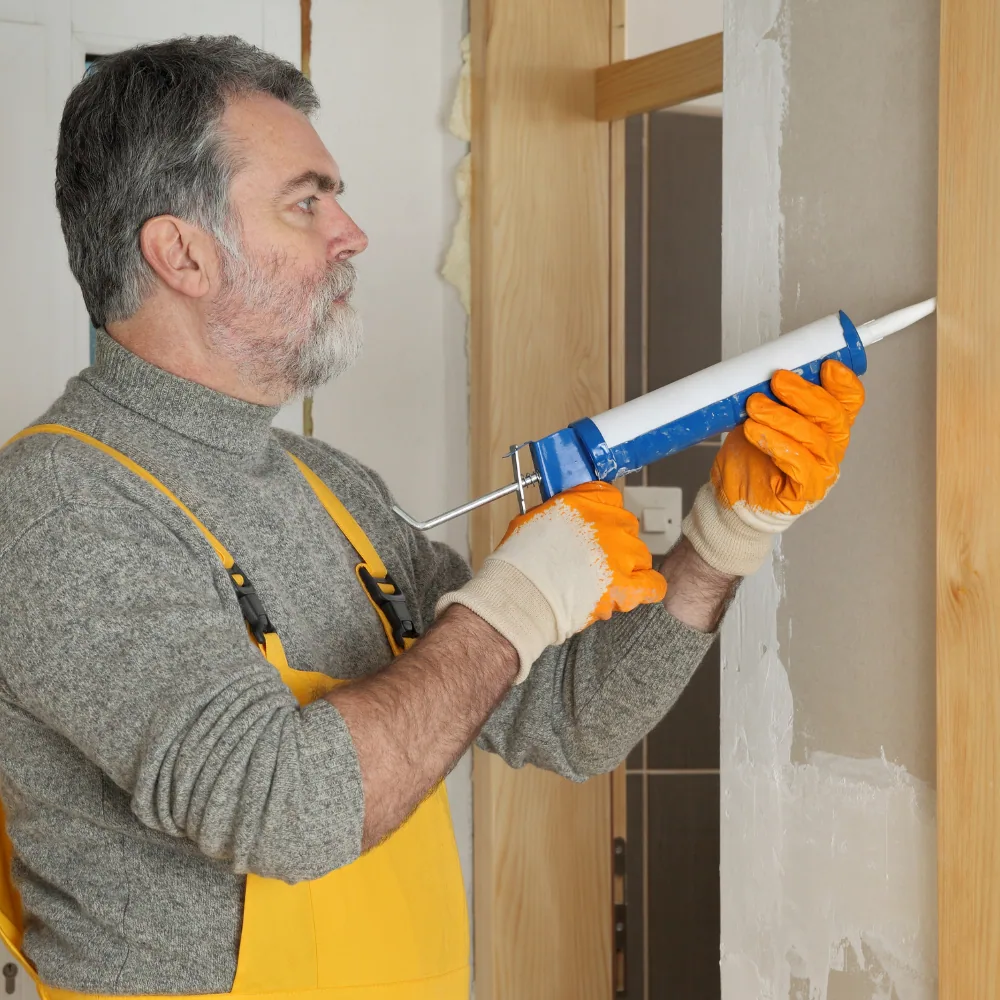
An inspection of the exterior perimeter allows you to seal the access routes used by the colony:
- Cracks in foundations and exterior cladding identified during the inspection
- Gaps around pipe and cable penetrations
- Deteriorated caulking around windows and doors
- Tree branches touching the roof or walls — they serve as a bridge between the outdoor colony and your home
How Much Does Carpenter Ant Treatment Cost?
The cost varies depending on the extent of the infestation, the size of the property, and the number of nests to treat. As a general guide, in Quebec:
- Standard residential treatment (single-family home, localized infestation): between $200 and $400
- Treatment with follow-up included (extensive infestation, multiple nests): between $350 and $600
- Complex cases (long-standing infestation, heavily damaged structure): quoted on-site
For a detailed estimate based on your situation, see our full article on the cost of a carpenter ant exterminator.
Conclusion
Getting rid of carpenter ants requires a methodical approach: confirm the infestation, locate the nest, choose the right treatment, then correct the conditions that allowed the colony to establish. Treatment applied without first locating the nest almost always fails. If you are seeing multiple signs at the same time — sawdust, sounds in the walls, winged ants — do not wait: every week without treatment allows the colony to spread further into your home’s structure.
Frequently Asked Questions
How do I get rid of carpenter ants quickly?
The fastest and most effective method is professional treatment with direct injection into the galleries, combined with a perimeter insecticide barrier. On your own, gel baits placed on foraging trails produce good results within 2 to 4 weeks, but are generally not enough to eliminate an established colony. In all cases, locating the nest before applying any product is essential for lasting results.
Are over-the-counter products effective against carpenter ants?
Over-the-counter insecticides — sprays and dusts — kill ants on contact but do not reach the nest. Their effect is temporary and can even worsen the situation by dispersing the colony into several areas of the home. Gel baits are more effective because workers carry them back to the nest. For an established infestation, they are at best a complement to professional treatment, not a replacement.
How long does a professional carpenter ant treatment take?
The on-site intervention typically takes between 1 and 2 hours, depending on the size of the property and the number of nests. First results are visible within 1 to 2 weeks. A follow-up visit is usually scheduled 3 to 4 weeks after the initial treatment to confirm the colony has been fully eliminated and to address any remaining activity if needed.
Do carpenter ants come back after treatment?
Re-infestation is possible if the conditions that favoured the colony have not been corrected — persistent moisture, deteriorated wood, unsealed entry points. This is why treatment must always be accompanied by corrective measures. A thorough technician will identify these factors during the inspection and guide you on the repairs needed to prevent the ants from returning.
Do I need to vacate my home during treatment?
In the vast majority of cases, no. Modern carpenter ant treatments are applied in a targeted manner — injection into the galleries and exterior perimeter treatment — and do not require evacuation. Your technician will inform you of any specific precautions based on the product used, particularly if there are young children, pets, or people with allergies in the household.